I created my first PCB !

Earlier this morning, I received 10 of these beauties in my mailbox:
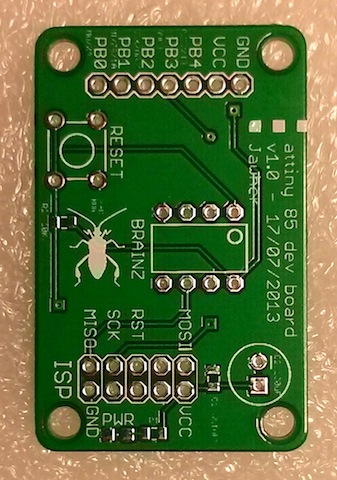
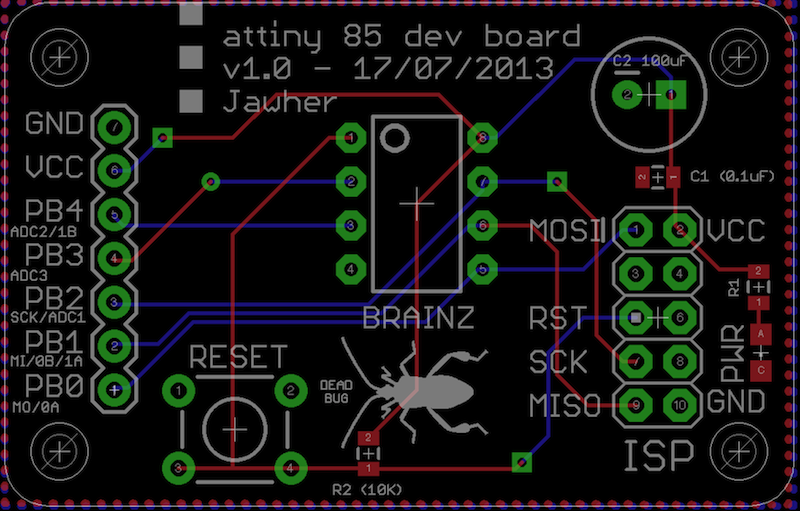
Top:
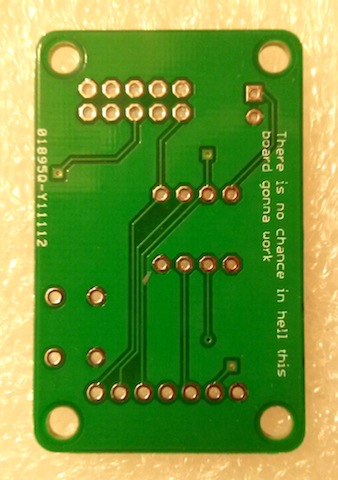
(Overly pessimistic) Bottom:
This is a development board I designed to ease prototyping with Atmel’s tiny 85 micro-controllers.
It’s a rather basic design with the tiny 85 in a DIP8 package in the center with traces to expose 5 of its digital pins (PB0 to PB4) plus ground and VCC via a header to the top.
To the bottom, other traces connect to a 10-pin ISP connector for programming.
There is also a power indicator led, a reset button and decoupling caps, and that’s about it.
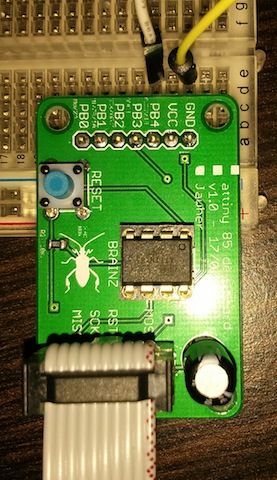
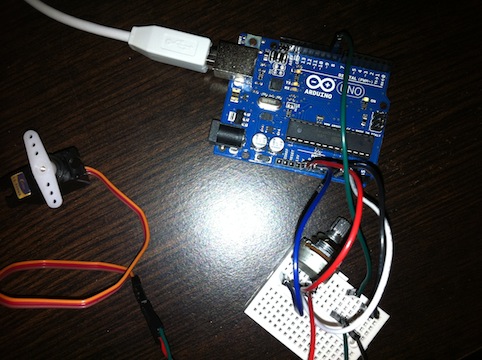
Here’s an assembled board connected to the programmer and plugged in a breadboard:
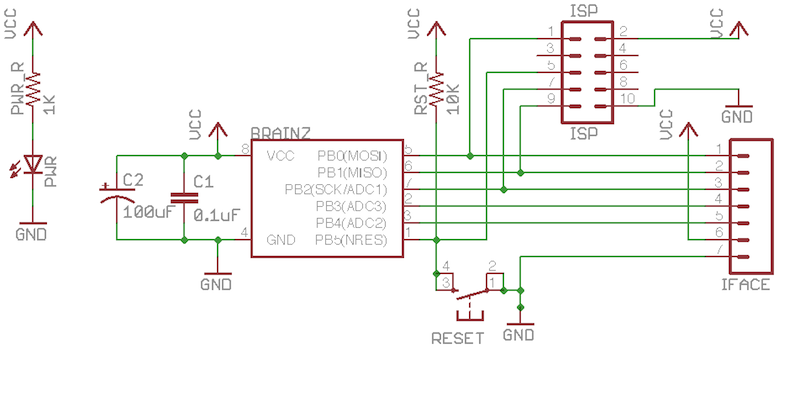
I’ve created this board using Eagle CAD. Here’s the schematic:
The board layout:
And the part list:
| Part | Value | Device | Package |
|---|---|---|---|
| BRAINZ | ATTINY85 | ||
| C1 | 0.1uF | Ceramic disc capacitor | 0805 |
| C2 | 100uF | Electrolytic capacitor | CPOL-RADIAL-100UF-25V |
| PWR | LED | 0805 | |
| PWR_R | 1K | Resistor | 0805 |
| RESET | Tactile switch | TACTILE-PTH | |
| RST_R | 10K | Resistor | 0805 |
This PCB design was fabbed using Seeed Studio’s fusion service: an incredibly cheap offer where you get 10 5cmx5cm PCBs for only 9.99$.
I soldered components on 2 of them, and after a bit of stumbling and yak shaving, mainly due to a buggy USBasp programmer, I got the boards to work beautifully.
It was also my first time soldering SMD devices (0805 resistors, capacitors and leds).
I was shocked the first time I hold a 0805 resistor in one hand with the iron in the other.
It was tiny.
Really tiny.
I was like no way I’m going to be able to solder this.
But it wasn’t that bad.
The only part I struggled with was the power indicator led, and it turned out I was trying to solder the wrong package (a 1206) which was bigger than the pads.
/me very proud !
Humble beginnings:
Achievement unlocked badges generated using http://www.achievementgen.com/360/